

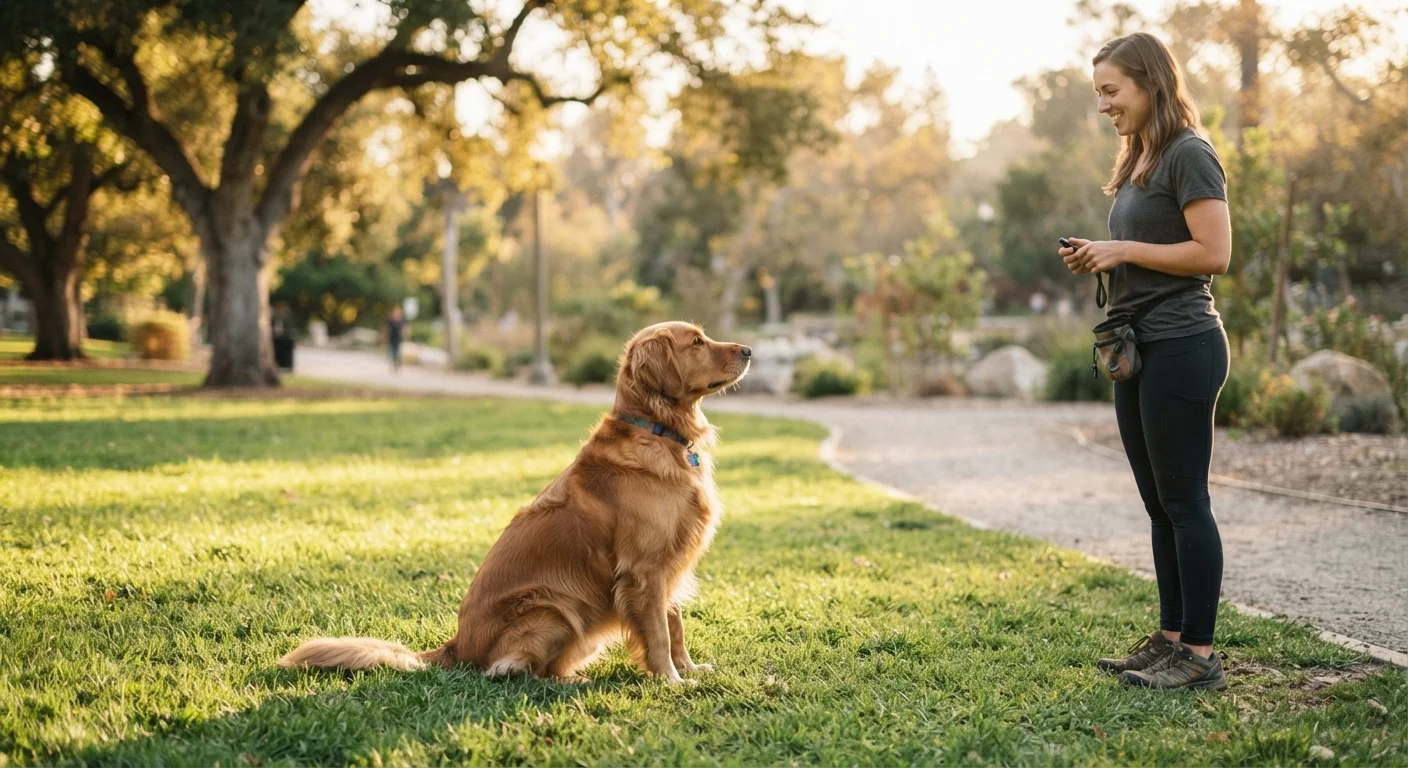
Why Stay Is Actually Three Skills in One
Most owners treat "stay" as a single command, then wonder why their dog holds the position perfectly in the living room but falls apart at the park. The reason is straightforward: stay requires your dog to manage duration (how long), distance (how far you move away), and distraction (what else is happening nearby). These are genuinely separate cognitive challenges, and mixing them before each is solid almost always leads to failure.
The good news is that isolating them makes progress faster and clearer. When a stay breaks down, you'll know exactly which variable caused it — and how to fix it. If your dog is already struggling to respond to basic cues, it's worth reading why dogs ignore commands before diving into stay work.
What you will need
What You'll Need Before You Start
Stay training works best with a dog who already understands a foundation position — sit or down — and is comfortable with a marker signal, either a verbal "yes" or a clicker. If those aren't in place, build them first. Keep sessions to 5–10 minutes maximum; dogs learn better in short, frequent repetitions than long sessions.
High-value food rewards
Used as reinforcement to mark and reward correct stay behavior at every stage.
Clicker or verbal marker
Marks the exact moment the dog is correct so they understand which behavior earned the reward.
Standard 6-foot leash
Provides a safety tether during distance work in outdoor or unfamiliar environments.
Long line (15–30 feet)
Allows you to practice distance and distraction outdoors while maintaining a connection to your dog.
Step-by-Step: Building the Stay
Follow the steps below in order. The key rule throughout: only increase one variable at a time. If you just added distance, keep distractions low and duration moderate. Trying to advance everything at once is the single most common reason stay training stalls.
Introduce a Stay Marker Word
Ask your dog for a sit or down. The moment they settle into position, say "stay" in a calm, even tone — once only. Immediately mark (click or say "yes") and deliver a treat while they remain in position, not after they've moved. This teaches that the reward comes for staying still, not for breaking position to come get it. Repeat 8–10 times per session for two to three sessions before moving on.
Build Duration First
With your dog in a stay, begin adding time before you mark and reward. Start with just 2–3 seconds, then gradually stretch to 5, 10, 15, and 30 seconds over multiple sessions. Vary the duration unpredictably — don't just go longer every rep. Mix easy reps (3 seconds) with harder ones (20 seconds) so the dog learns to stay regardless of how much time has passed. Do not add distance yet.
Add Distance in Small Increments
Once your dog can hold a stay reliably for 30 seconds at your side, begin introducing distance. Take a single step back, pause one second, then step back in and reward. Gradually build to two steps, five steps, and eventually moving out of your dog's immediate sight line. Return to your dog to reward — do not call them to you. If the stay breaks at any point, reduce the distance at your next attempt.
Introduce a Clear Release Cue
Your dog needs to know when the stay is officially over. Choose a release word — "free," "all done," or "okay" — and use it consistently every time you end a stay. Say the word, then move toward your dog or prompt light movement. The release cue is what teaches your dog that stay means stay until I tell you otherwise, not stay until you feel like getting up.
Build Distraction Gradually
Only after duration and distance are solid should you introduce distractions. Start mild: shuffle your feet, drop a low-value item nearby, or have a calm person walk past. Keep duration short and distance close when adding any new distraction. As the dog succeeds, raise the stakes slowly — bouncing a ball, food on the ground, another dog visible at a distance. Always set the dog up to succeed by controlling how much distraction you introduce at once.
Combine Variables Only After Each Is Solid
A useful rule of thumb: your dog should succeed 80–90% of the time on a given variable before you increase it. Once duration is reliable, add distance. Once distance is reliable at low distraction, begin distraction work. Combining all three at once is appropriate only in the final stages of proofing — and even then, dial back one variable to keep the challenge manageable. For related foundational work, see loose-leash walking techniques, which uses a similar one-variable-at-a-time structure.
Troubleshooting Common Breakdowns
If your dog consistently breaks the stay before the release, the most likely culprit is that you've advanced too quickly — go back one step and rebuild with higher reinforcement density. Dogs who break when you move away often haven't had enough repetition with very small distance increases; try just a half-step back before returning. Dogs who hold at home but not outdoors need a dedicated distraction progression started in a low-stimulus outdoor environment, not thrown straight into a busy trail or dog park.
Pay attention to your dog's body language throughout training. Yawning, lip-licking, and looking away are stress signals that indicate the task feels too hard. Reading your dog's body language during sessions helps you make smarter decisions about when to push forward and when to dial back.
Stay also has unexpected overlap with separation-related behaviors in some dogs. If yours shows extreme distress when you move even a few feet away, that may warrant a different approach — see separation anxiety training strategies for guidance on that specific pattern.
Puppies and Senior Dogs Need Adjusted Expectations
Young puppies have limited impulse control and shorter attention spans — expect stays of just a few seconds at first, and keep it fun rather than drilling. Senior dogs may have physical discomfort that makes holding a position difficult. Always watch for signs of pain or fatigue. Training ability changes with age, and adjusting your expectations accordingly makes the process fair for your dog.
The content on this site is for informational purposes only and is not a substitute for professional advice. Always consult a qualified professional for guidance specific to your situation.