

What Homeowners Can Realistically Manage
Plumbing maintenance sits on a spectrum. On one end are simple observational checks any homeowner can do - looking for drips, testing valves, inspecting supply lines. On the other are tasks that require a licensed plumber and, in many cases, a permit. Understanding where that line falls helps you stay proactive without overstepping into territory where a mistake could mean water damage, a voided warranty, or a failed home inspection.
Most routine plumbing maintenance requires no special skills - just consistency. The homeowners who avoid expensive repairs are usually the ones who spend 20 minutes checking under their sinks twice a year, not the ones with the most tools.
Know When to Call a Licensed Plumber
Tasks involving new pipe runs, gas water heater components, sewer line work, or anything inside walls or under slabs require a licensed plumber. Many jurisdictions also require permits for significant plumbing changes - check with your local building department before starting any project beyond routine maintenance. Attempting regulated work without a permit can create problems when you sell your home or file an insurance claim.
For a broader look at the tasks that quietly cause major damage when skipped, see commonly overlooked home maintenance tasks.
What you will need
Gather your tools before you start.
Adjustable wrench
Tightening or loosening supply line connections and shutoff valve packing nuts.
Plunger (cup and flange types)
Clearing minor clogs in sinks, tubs, and toilets without chemicals.
Drain snake (hand auger)
Reaching clogs deeper in the drainpipe that a plunger cannot dislodge.
Flashlight or headlamp
Inspecting pipe joints and supply lines in dark under-sink or crawl space areas.
Teflon (PTFE) tape
Sealing threaded pipe fittings when reattaching supply lines or fixture connections.
Bucket and old towels
Containing residual water when opening supply lines or P-traps.
Step-by-Step: Core Plumbing Maintenance Tasks
Work through these steps on a seasonal or annual schedule. Most take only a few minutes each; together, they form a complete picture of your home's plumbing health.
Locate and test every shutoff valve
Walk through your home and identify each fixture shutoff valve - the small valves beneath sinks, behind toilets, and near appliances like your washing machine and dishwasher. Turn each valve fully off and back on once a year to confirm it moves freely. A valve that hasn't been operated in years can seize, leaving you unable to stop a leak quickly.
Also locate your main shutoff valve, usually near the water meter or where the main line enters the house. Make sure every adult in the household knows where it is.
Inspect supply lines and pipe joints for moisture
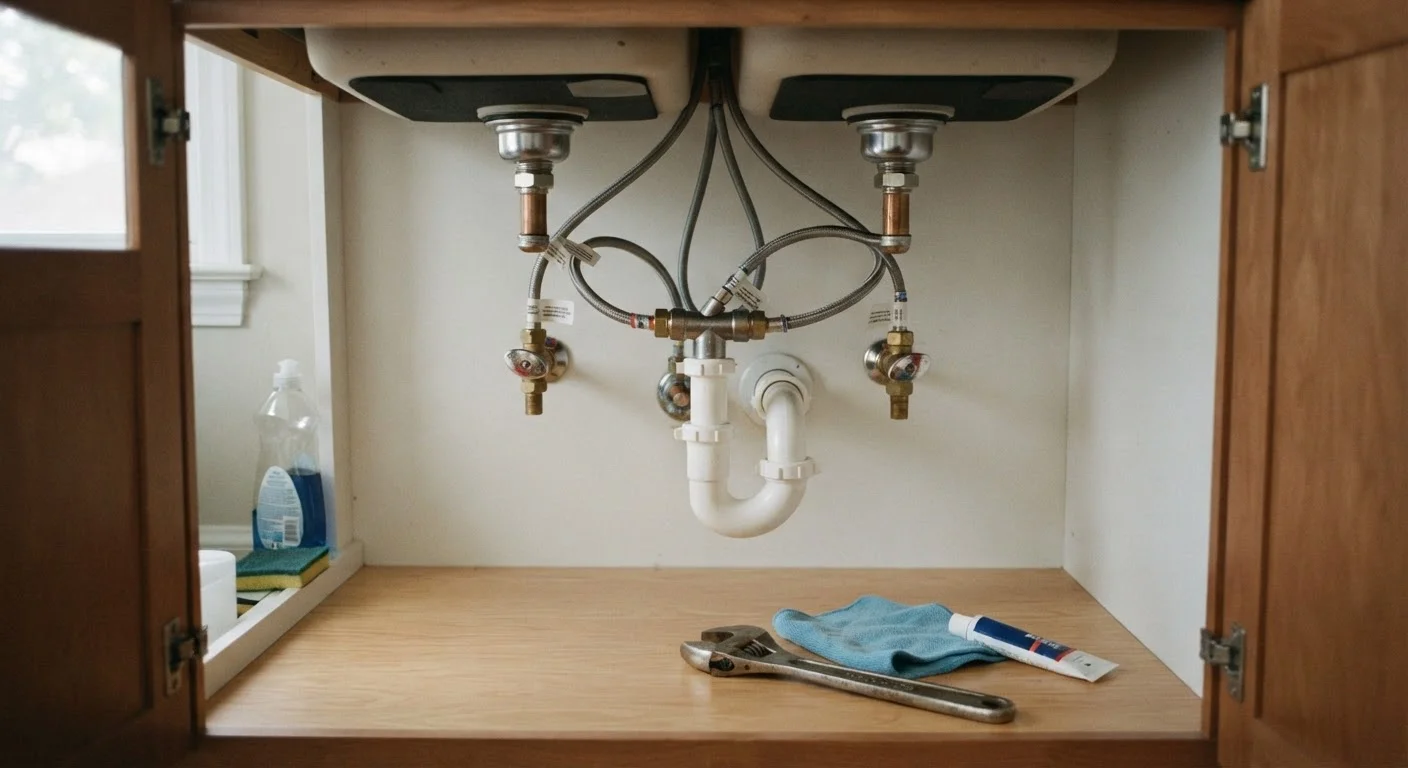
Open cabinet doors under every sink and look at the braided or plastic supply lines connecting the shutoff valves to the faucet. Check for bulging, corrosion, or white mineral deposits - any of these signal a line that may be near failure. Run your fingers along visible pipe joints and look for dried water stains on the cabinet floor, which indicate a slow drip that went unnoticed.
Supply lines are typically recommended for replacement every 5-10 years regardless of visible condition, especially if they are older rubber lines rather than stainless-steel braided.
Check toilets for running or phantom flushing
Remove the toilet tank lid and listen. A toilet that runs continuously after flushing, or that refills on its own without being flushed (called phantom flushing), typically has a worn flapper - the rubber seal at the bottom of the tank. Flappers are inexpensive and straightforward to replace without special tools.
To confirm a flapper leak, add a few drops of food coloring to the tank. Wait 10-15 minutes without flushing. If color appears in the bowl, the flapper is leaking and should be replaced.
Clear and maintain drains
Remove and clean drain stoppers in bathroom sinks and tubs monthly - hair and soap buildup accumulate quickly. For a slow-draining sink, start with a cup plunger before reaching for any drain cleaner. If the drain is still slow, a hand drain snake can break up or retrieve a clog deeper in the trap arm.
Avoid chemical drain cleaners as a first resort. They can degrade older pipes, particularly those made from PVC or older metal, and they rarely remove the clog entirely - they just temporarily clear it.
Test and inspect your water heater
Look for moisture or rust staining around the base of your water heater tank. A small amount of condensation during cold weather is normal; pooled water or rust is not. Check that the temperature and pressure (T&P) relief valve - a safety device on the side of the tank - has a discharge pipe pointing toward the floor. Do not attempt to test the T&P valve on older units without consulting a plumber, as corroded valves can fail to re-seat after being opened.
The U.S. Department of Energy generally recommends setting the water heater thermostat to 120°F to balance safety, energy use, and scalding risk.
Prepare pipes for cold weather
Before freezing temperatures arrive, disconnect and drain outdoor hoses, and shut off any interior valves serving outdoor spigots (known as frost-free or sillcock valves). Open the outdoor spigot slightly to allow residual water to drain out after shutting the interior valve.
Pipes in unheated spaces - garages, crawl spaces, exterior walls - are most vulnerable to freezing. Foam pipe insulation sleeves are a low-cost measure to protect exposed runs. If you're leaving the home for an extended period in winter, keep the thermostat set no lower than 55°F.
Build Plumbing Into Your Seasonal Routine
Plumbing checks don't need to be a separate project - they fit naturally into seasonal home walkthroughs. See our seasonal home maintenance calendar for a month-by-month breakdown that includes these and other quick inspections.
Plumbing and water damage are also worth understanding in the context of your homeowner's insurance. Coverage for sudden pipe failures differs significantly from coverage for slow, undetected leaks - review your policy and consult a licensed insurance professional if you have questions about what your plan includes.
Red Flags That Mean You Should Call a Professional
Even thorough DIY maintenance has limits. Contact a licensed plumber if you notice any of the following:
- Water pressure that has dropped noticeably throughout the home, not just at one fixture - this can indicate a supply line problem, a partially closed main valve, or a developing leak inside a wall.
- Discolored or rust-tinged water, especially from the hot side only, which may signal a deteriorating water heater tank.
- Sewage or sulfur odors indoors, which can indicate a dry or broken drain trap, a failing wax ring, or a sewer gas issue that poses a health and safety concern.
- Gurgling sounds in drains or toilets when another fixture is used, which may point to a partial blockage in the main drain line or a venting problem.
- Wet spots on ceilings, walls, or flooring with no obvious explanation - these warrant prompt professional investigation.
A Shutoff Valve You Can't Find Costs You Dearly
In a plumbing emergency, every minute of water flow adds to potential damage. Before any leak or burst pipe happens, take 15 minutes to walk your home, locate every shutoff valve, and confirm each one turns. Write down their locations and share that information with everyone in the household. This single preparation step can prevent thousands of dollars in water damage.
Just as electrical work has a clear boundary between what homeowners can safely do themselves and what requires a professional, so does plumbing. See our article on home electrical safety for homeowners for a useful parallel on knowing your limits. And if you're new to home maintenance overall, what a home maintenance schedule actually looks like is a helpful starting point.
This article is for general informational and educational purposes only. Plumbing codes, permit requirements, and best practices vary by location. Always consult a licensed plumber for work beyond basic maintenance, and verify local code requirements with your municipal building department before undertaking any plumbing project.
The content on this site is for informational purposes only and is not a substitute for professional advice. Always consult a qualified professional for guidance specific to your situation.