

Summary
24 items · 45-90 minutes on-site
Why This Checklist Matters
Buying a used vehicle is one of the larger purchases most households make, and the stakes are high enough that skipping a careful inspection can lead to thousands of dollars in repairs you never anticipated. Unlike buying new, a used car carries an unknown history - previous accidents, deferred maintenance, flood damage, or odometer tampering can all be concealed by a fresh detail and a coat of paint.
This walkthrough is designed to give any buyer - regardless of mechanical background - a systematic process for evaluating a vehicle before handing over money. Work through each section in order, and don't rush. If a seller pressures you to skip steps or decide on the spot, treat that as a red flag.
For the financial side of your purchase, consider also reviewing this credit readiness checklist if you plan to finance the vehicle - knowing your credit standing before you apply puts you in a stronger negotiating position.
Vehicle History Report Service
Used to pull accident history, title status, odometer records, and open recalls using the vehicle's VIN before you visit the seller.
OBD-II Code Reader
Plugs into the vehicle's diagnostic port to reveal stored fault codes that a seller may have cleared before the showing.
Flashlight
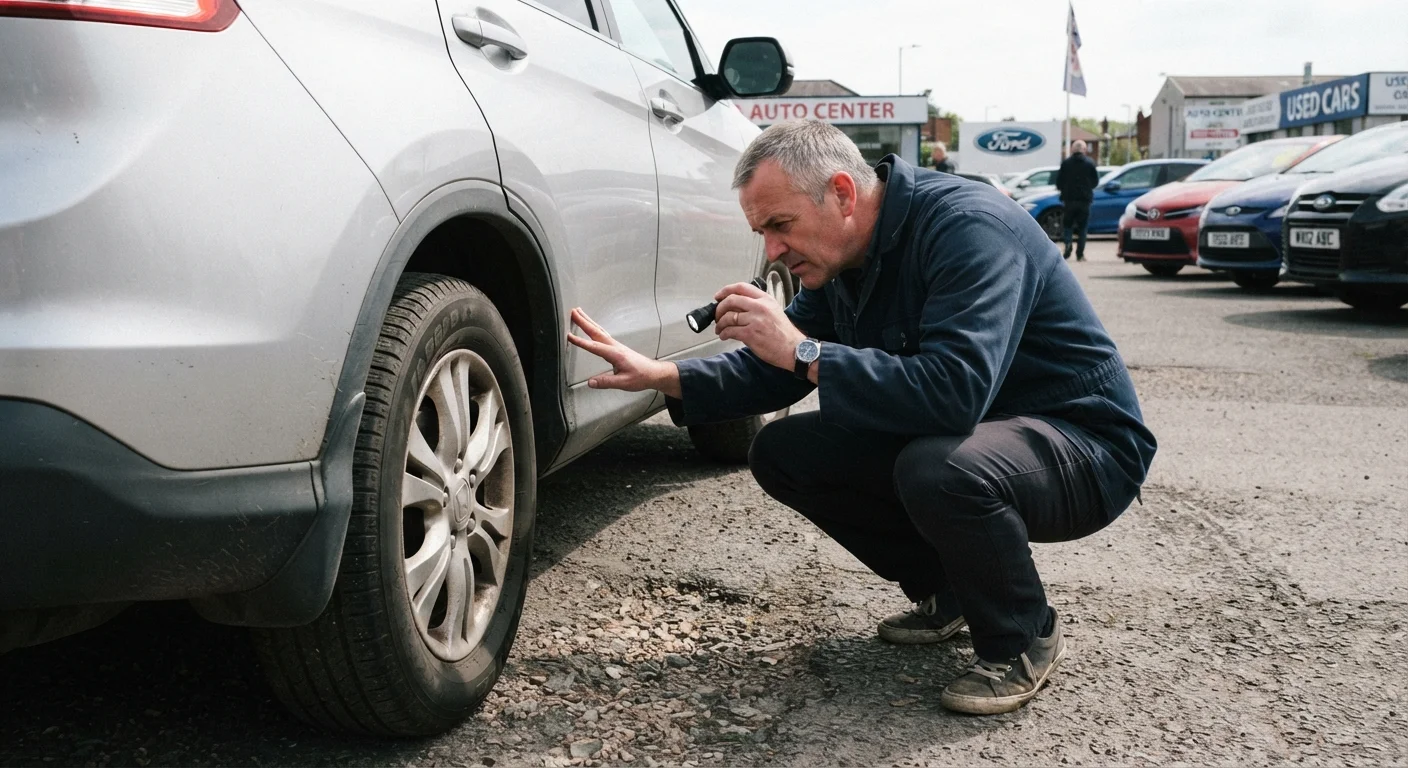
Helps inspect dark areas under the hood, beneath the vehicle, and inside wheel arches for rust, leaks, and damage.
Tire Tread Depth Gauge
Measures remaining tread depth precisely - tires below 2/32" are legally worn out in most states.
Independent Licensed Mechanic
Performs a professional pre-purchase inspection on a lift, catching issues that a visual walkthrough cannot detect.
The Inspection Checklist
Work through these groups in sequence. Bring a notepad or use your phone to log anything that needs follow-up. Ideally, schedule inspections in daylight - artificial lighting on a lot can mask rust, paint inconsistencies, and fluid leaks.
Before You Arrive
Exterior Inspection
Under the Hood
Interior Inspection
Test Drive
Never Skip the Independent Mechanic Inspection
A dealer or private seller inspection is not a substitute for a pre-purchase inspection by a mechanic you hire yourself. A qualified mechanic on a lift can spot frame damage, leaks, worn suspension components, and other issues invisible during a parking-lot walkthrough. Expect to pay a modest fee for this service - it routinely uncovers problems worth far more to know about in advance.
Once you own the vehicle, keep it running well by planning ahead. Our guide on maintaining a car past 100,000 miles covers the maintenance tasks that become critical as mileage climbs. And before your first long trip in your new-to-you car, run through this road trip prep checklist to confirm everything is road-ready.
On the test drive, pay close attention to any warning lights that appear on the instrument panel. If you're not sure what a symbol means, this dashboard warning light guide explains the most common ones and what they indicate.
Verify Title and Lien Status Before Payment
Before finalizing any purchase, confirm the seller holds a clean title in their name and that no liens are recorded against the vehicle. A lien means a lender has a legal claim on the car, and buying a vehicle with an outstanding lien can result in the lender repossessing it even after you've paid. Your state's DMV or a vehicle history report can help you verify title status. If anything is unclear, consult a licensed professional before proceeding.
The content on this site is for informational purposes only and is not a substitute for professional advice. Always consult a qualified professional for guidance specific to your situation.