

Why a Pre-Trip Inspection Matters
Most vehicle breakdowns on long drives are preventable. Overheating, flat tires, and dead batteries rank among the most common causes of roadside emergencies - and all three are detectable with a thorough inspection before you leave home. The difference between catching a slow tire leak in your driveway versus on a rural interstate is significant, both in safety terms and in cost.
This inspection doesn't require mechanical expertise. Most checks involve looking, measuring, or listening - and your owner's manual will walk you through the specifics for your vehicle. Think of it the same way you'd approach an annual home maintenance audit: systematic, not difficult.
Address Warning Lights Before You Leave
Never set out on a long drive with an active dashboard warning light, especially the check engine, oil pressure, or temperature indicators. These signals can point to conditions that worsen quickly under highway driving. If you're unsure what a light means, consult your owner's manual or a qualified mechanic before departing. Our guide on what dashboard warning lights mean explains the most common alerts and how urgent each one is.
Below is everything you'll need to complete the inspection.
What you will need
Tools and Supplies to Have Ready
You don't need a full toolbox for this inspection, but a few basic items will make the process easier and more accurate.
Tire pressure gauge
Check each tire's PSI against the manufacturer's recommended pressure found on the driver's door jamb.
Flashlight or phone torch
Illuminate hard-to-see areas under the hood, beneath the vehicle, and inside the trunk.
Clean rag or paper towels
Wipe dipsticks clean when checking oil and transmission fluid levels.
Jumper cables or portable jump starter
Restart a dead battery in a remote location where roadside assistance may be delayed.
Basic first-aid kit
Handle minor injuries in the event of a roadside incident or accident.
Reflective triangles or road flares
Warn oncoming traffic if you need to stop on the shoulder of a highway.
Tread depth gauge
Measure remaining tire tread depth to determine whether tires are safe for extended highway driving.
Once your tools are ready, work through the steps below in order - they're organized from the engine bay outward, ending with your emergency kit.
Check All Fluid Levels
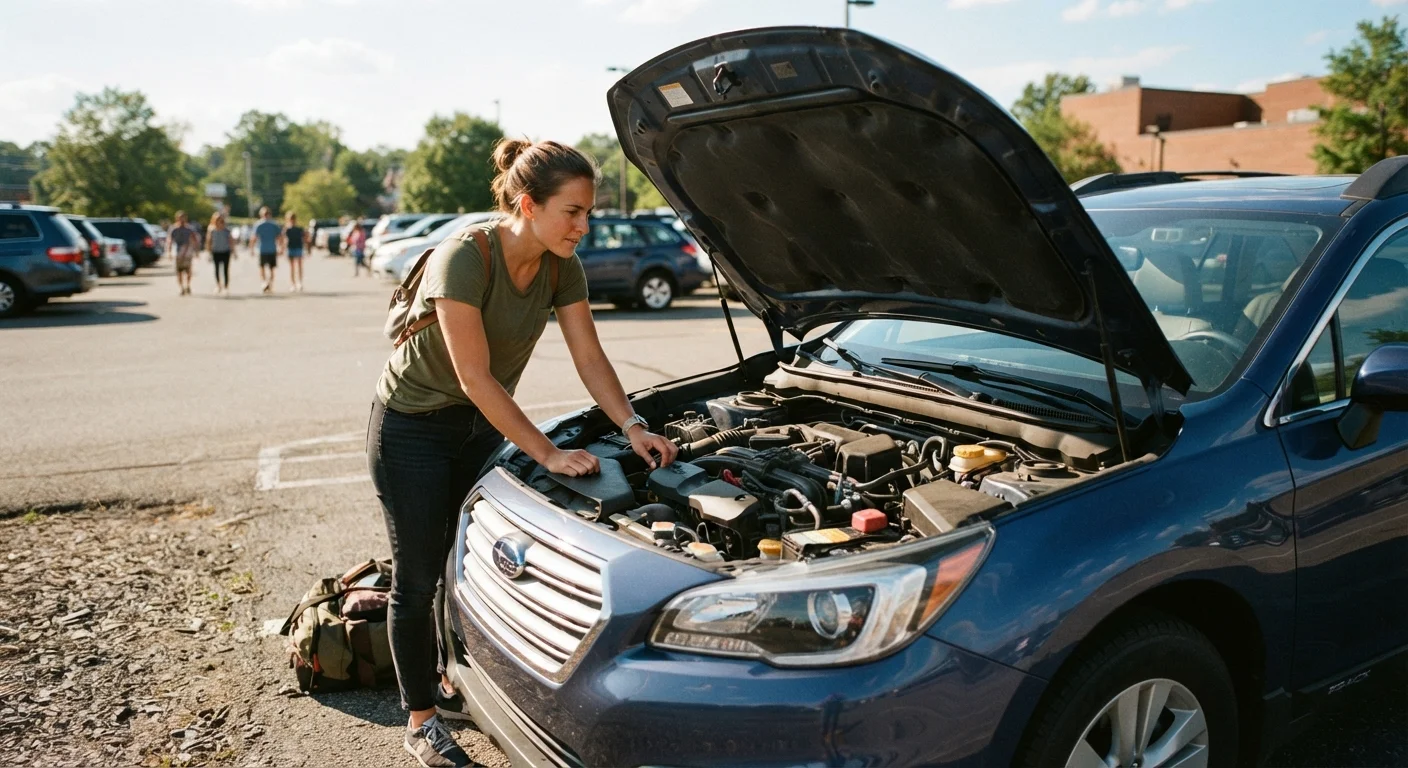
With the engine cold, open the hood and locate the dipsticks and reservoirs for engine oil, coolant, brake fluid, power steering fluid (if applicable), and windshield washer fluid. Each reservoir has a MIN and MAX marker - fluid should sit between them. Engine oil should appear amber to light brown on the dipstick; dark or gritty oil may indicate it's overdue for a change. Coolant should be the color indicated in your owner's manual (typically green, orange, or pink) and not milky or oily, which can signal a head gasket issue.
Inspect All Four Tires and the Spare
Check tire pressure with a gauge and inflate to the PSI printed on the sticker inside the driver's door jamb - not the number molded into the tire sidewall, which is the maximum pressure. Visually inspect each tire for cracks, bulges, embedded objects, or uneven tread wear. Use the penny test (or a tread depth gauge) to check tread: insert a penny into a tread groove with Lincoln's head pointing down - if you can see the top of his head, tread depth is critically low. Don't forget to check the spare and ensure you have a functional jack and lug wrench.
Test Lights and Signals
Turn on the headlights and walk around the vehicle to confirm both low and high beams are functioning. Activate your turn signals, hazard lights, and reverse lights, and check that brake lights illuminate when the pedal is pressed - this typically requires a second person or a reflective surface. Replace any burned-out bulbs before you leave; faulty brake lights in particular are a safety hazard and a ticketable offense in most states.
Inspect Belts, Hoses, and the Battery
With the engine off, visually inspect the serpentine belt for cracking, fraying, or glazing. Squeeze accessible hoses - they should feel firm but pliable, not brittle, soft, or spongy. Check the battery terminals for white or blue corrosion buildup; a corroded terminal can cause starting problems. If your battery is more than three to four years old, consider having it load-tested at an auto parts store - many offer this service at no charge.
Listen and Feel for Brake Issues
During a short test drive before your trip, brake firmly from approximately 30 mph in a safe, empty area. Note any pulling to one side, vibration through the pedal, or unusual sounds such as squealing or grinding. A soft or spongy pedal feel suggests low brake fluid or air in the lines. If anything seems off, have a qualified mechanic inspect the braking system before you depart - this is not a component to troubleshoot yourself on the road.
Assemble or Verify Your Emergency Kit
Open your trunk and confirm the presence of: jumper cables or a portable jump starter, a reflective triangle or road flares, a flashlight with fresh batteries, a basic first-aid kit, a blanket, drinking water, and your vehicle registration and insurance card. If you're traveling with pets, review the pet emergency preparedness checklist to make sure their needs are covered as well. Ensure your phone is fully charged and you have a car charger - or carry a portable power bank.
After the Inspection: What to Do if Something Seems Off
Not every concern found during a pre-trip inspection is an emergency - but none should simply be ignored. If a fluid is low, top it up with the correct type before you leave. If a tire shows visible cracking or a belt appears frayed, have a mechanic evaluate it rather than gambling on it holding for a few hundred more miles.
Schedule Checks Two Days Ahead
Running your pre-trip inspection at least 48 hours before departure gives you time to address anything unexpected - a slow tire leak, a low battery, or a fluid that needs topping up. Last-minute checks leave no buffer if a mechanic appointment is needed. This is especially important for high-mileage vehicles; see our article on maintaining a car past 100,000 miles for what to prioritize.
If you discover problems that are beyond a quick fix, it may be worth rescheduling your departure by a day. The minor inconvenience is far smaller than a tow truck bill or, more importantly, a safety incident on the highway. Developing good inspection habits also pays off over the vehicle's lifetime - see our guide on habits that quietly wear out your car for more on how small oversights accumulate into major repairs.
Do Not Ignore Brake Concerns
Squealing, grinding, or a soft brake pedal are signs that require professional inspection before any long drive. Brakes are safety-critical and should never be assessed only visually by an untrained driver. If you notice any unusual brake behavior, take the vehicle to a qualified mechanic - do not delay this until after the trip.
This article is for general informational purposes only and does not constitute professional mechanical advice. Always consult a qualified mechanic for safety-critical vehicle concerns before operating your vehicle on public roads.
The content on this site is for informational purposes only and is not a substitute for professional advice. Always consult a qualified professional for guidance specific to your situation.